
Kinesiology tape usually comes as a simple roll. The shape appears only after you cut or divide the strip for a specific application. Kinesiology Tape Shapes include the I-strip, Y-strip, X-strip, fan strip, and donut strip.
Each design creates one or more pathways while leaving part of the tape uncut as an anchor. Understanding these different kinesiology strip shapes makes cutting easier and helps you follow application instructions accurately. This guide explains where to cut, where to stop, and how to keep every shape usable.
The I-Strip: Is One Straight Pathway
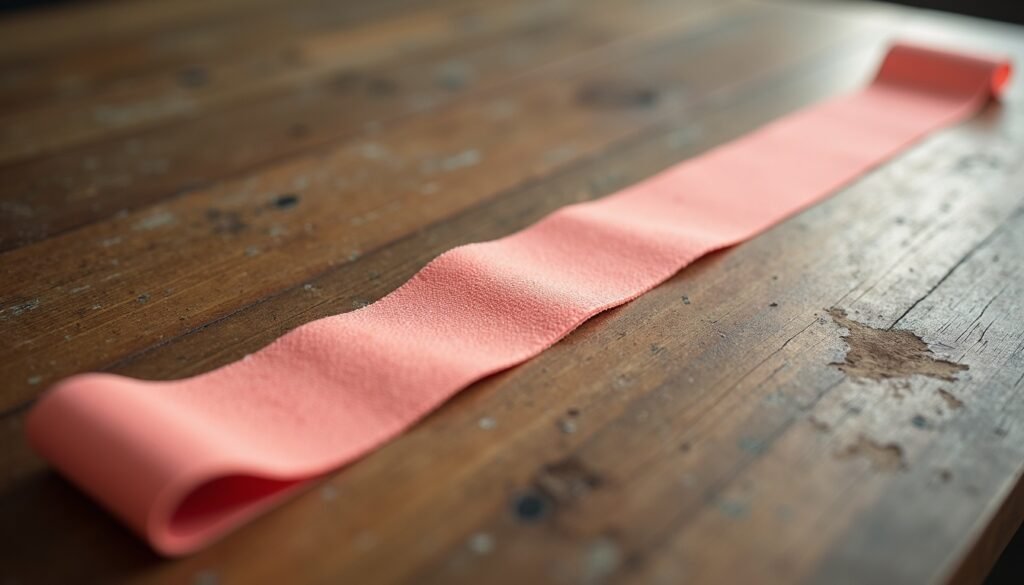
The I-strip is one straight piece of tape, with an anchor on both side. It creates one continuous pathway, making it common in kinesiology taping patterns. Use the application instructions to measure the route, including having enough tape for an unstretched anchor at each end.
Cut the strip straight across the roll and round all four corners. Rounded ends are less likely to catch on clothing and begin lifting. An I-strip has no tails to separate or direct around an area. This makes it easier for beginners to handle. However, its direction and tension must still match the selected kinesiology taping patterns.
How to Cut a Y Strip
A Y-strip starts as a measured I-strip with its paper backing attached. Cut the required length and round the four outer corners. Before cutting a strip into a Y, mark where the uncut base anchor must end.
Begin at the opposite end and make one straight lengthwise cut through the centre. Stop at the mark. This leaves one solid anchor and two tails. Keep the tails similar in width unless the application requires otherwise. Round the two new inside corners at the tail ends, taking care not to remove excessive tape. Creating two Y-shaped tails allows one strip to follow two pathways from a shared anchor.
The X-Strip: Four Pathways From One Centre

An X-strip is divided at both ends while a section remains solid in the centre. This uncut junction connects four tails, allowing them to travel in different directions. Start with an I-strip, leave the backing attached, and round its outer corners.
Mark two stopping points around the central section. Cut lengthwise from one end to the first mark. Rotate the strip and repeat from the opposite end, stopping at the second mark. The cuts must never meet. Separate the four tails and check that none are unusually narrow. Finally, round each new inside corner. Follow the application guide for the central length and tail directions.
How to Cut Fan Strips
A fan strip keeps one end solid while the opposite end divides into several narrow tails. Place a measured strip flat with the backing facing upward. Mark the uncut base length before cutting several narrow tails.
From the free end, make evenly spaced, parallel cuts toward the mark. Stop every cut at the same line. This keeps all tails attached to one base. Choose the number and width of the tails from the application instructions because very narrow sections can be difficult to handle. Round each exposed corner without shortening the tails. Creating a fan-shaped strip gives the connected piece several flexible pathways across a wider area.
The Donut-Strip: Creating a Central Opening
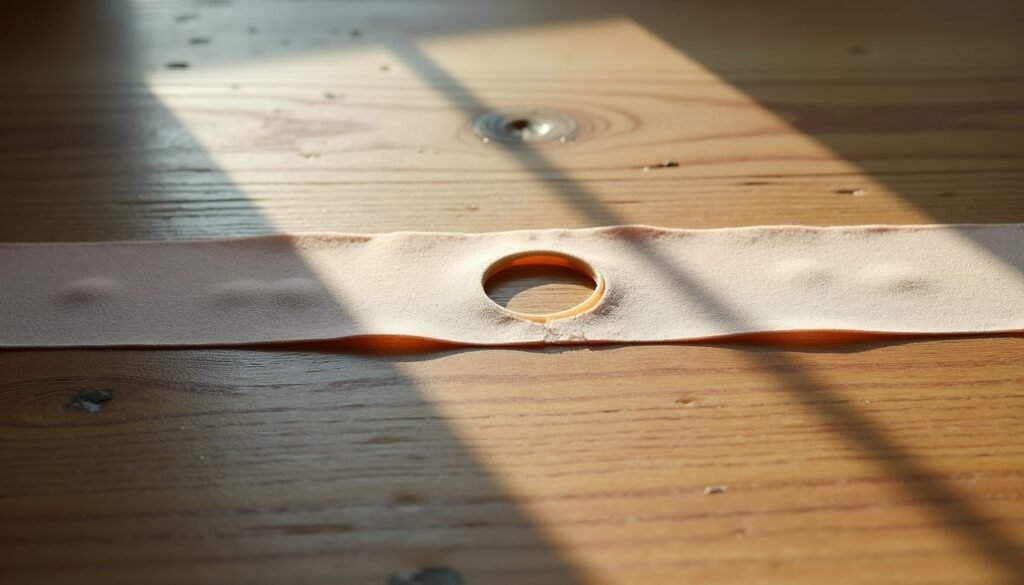
A donut strip is an I-strip with a small opening through its centre. If you are learning how to make a donut strip, measure the required length, keep the backing attached, and round all four outer corners.
Mark the opening specified by the application. Fold the tape crosswise at that point, with the backing facing outward. Cut a small curved notch from the folded edge without reaching either side. After unfolding, check that the hole is centre and the surrounding tape remains connected. Smooth any sharp points that could tear. Creating an opening in the centre forms the donut. You are not cutting a ring-shaped section from the roll.
Essential Cutting Rules for Every Shape

Although K-taping methods use different shapes, the same cutting rules apply to every strip. Keep the paper backing attached while measuring and cutting. Mark each stopping point before dividing tails or making a central opening. Use clean, sharp scissors to prevent rough or stretched edges.
Review the required length, anchor size, and number of pathways because these details vary between K-taping methods. Keep every anchor or central junction intact. Avoid tails that are too narrow to handle, and round every exposed corner. Finally, inspect the finished piece for tears, uneven cuts, or weak connections. These checks make kinesiology application techniques easier to follow and prevent avoidable tape waste.
Choose the Shape Before Cutting
Select the required shape from the body-area application before cutting the roll. Kinesiology tape shapes differ in their pathways, anchors, tails, and central openings, so appearance alone should not guide your choice.
First, confirm the strip length and cutting pattern. Next, keep the backing attached while marking and cutting. Round every exposed corner, then inspect all anchors, junctions, and tails for damage. Understanding these kinesiology strip shape options helps you prepare each piece accurately. Once the shape is complete, follow its specific placement and tension instructions.