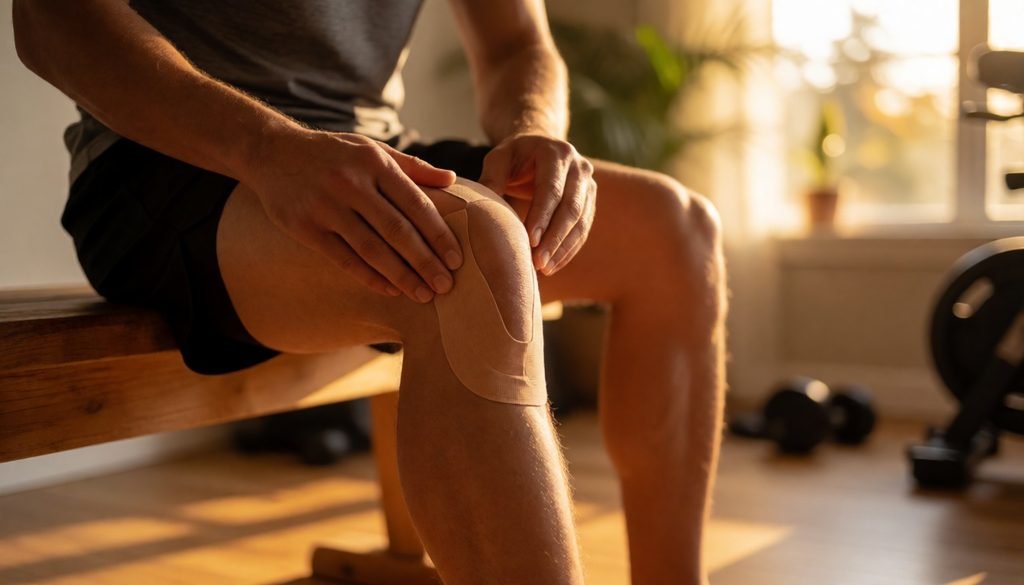
Learning how to apply kinesiology tape involves more than sticking a strip onto your skin. A secure, comfortable application begins with choosing the right method for the body area and goal. You must also measure the pathway, prepare the skin, use the instructed tension, and leave both anchors unstretched.
Small mistakes in any of these steps can cause discomfort, restrict movement, or make the tape peel early. This guide takes you through each step in a clear, practical order.
Choose the Correct Application
Start by deciding where the tape will go and what you want the application to do. Choosing the right kinesiology taping method depends on the body area and application goal. These details determine the tape shape, number of strips, direction, pathway, and tension level.
For example, an I-strip may follow one straight pathway, while a Y-strip can travel around a muscle or joint. Some applications use one strip, but others need several pieces placed in a specific order. Do not choose the stretch level by guesswork, because tension can change across the same strip. Follow instructions designed for the exact body area rather than copying a different application.
Skin Preparation Tips Before Applying the Strip
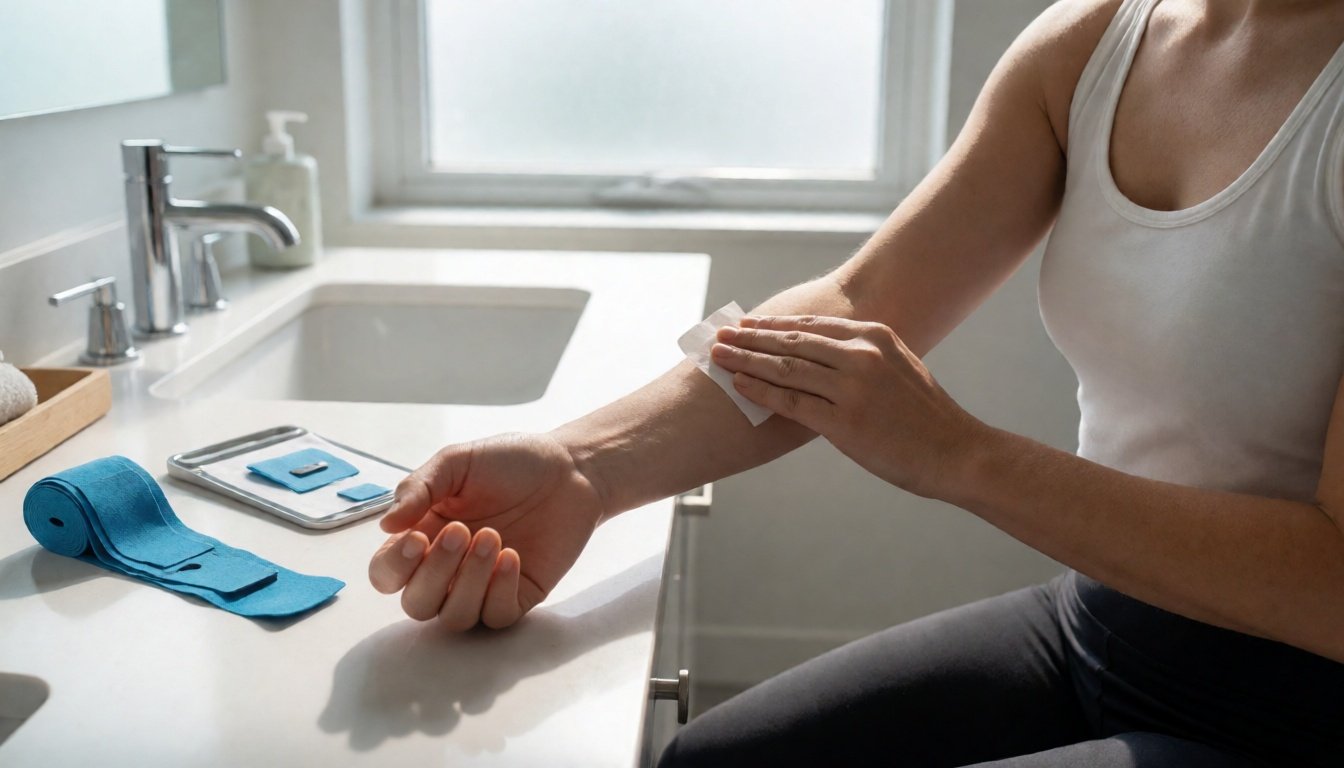
Use these skin preparation tips before opening the tape package. Spray the area with rubbing alcohol or use an alcohol wipe to remove oil, lotion, and sweat. Then dry the skin completely. Even a small amount of moisture can stop the adhesive from gripping evenly.
Take a moment to prepare the skin before use. Check for cuts, rashes, sunburn, or other irritation. Do not apply the tape if the skin is damaged. Fine hair usually does not need removal. However, carefully trim thick or excessive hair if it prevents the tape from lying flat. Do not apply lotion after cleaning. The finished surface should feel clean, dry, and smooth before you place the first anchor.
Measure and Cut the Strip Slightly Shorter
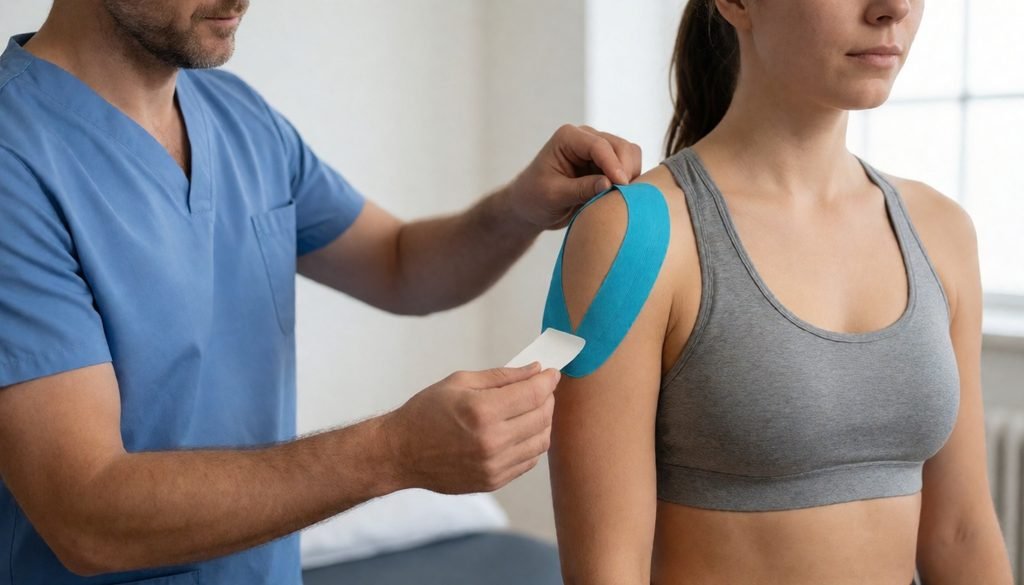
Follow the application instructions to learn how to measure and cut strips. Measure the complete route from the starting anchor to the final anchor. Then cut the strip 1–2 inches (2.5–5 cm) shorter than the measured route because the tape will stretch during application.
When you measure and trim each strip, allow enough length at both ends for unstretched anchors. Shorten the tape only when the working section must stretch during application. The amount removed depends on the pathway and instructed tension, so one fixed shortening rule will not suit every method. Your goal is to cut each piece to the required length without losing either anchor. After cutting, round all four corners to reduce snagging and early peeling.
Remove the Backing and Place the Starting Anchor
Correct anchor placement begins by choosing which end must go down first. Follow any required taping direction. If either end can begin, start with the harder-to-reach anchor. This lets you position it carefully while the strip is easy to control.
Tear the paper near that anchor, but do not tear through the tape. Remove only enough backing to expose the starting end. Hold the covered section by the paper, then place the starting end accurately with zero tension. After correct anchor placement, peel away the remaining paper a little at a time as you guide the strip along its pathway. Keep your fingers off the exposed adhesive so it stays clean and grips the skin evenly.
How Much Tension Should I Use on the Working Section?
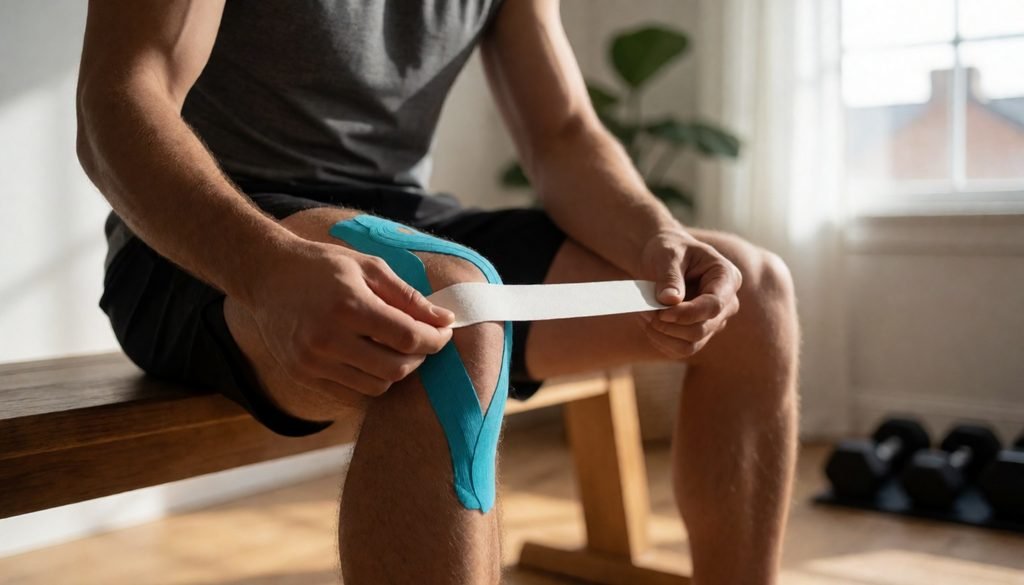
Use the tension stated in the instructions for your body area and goal. There is no single percentage that works for every application. The correct amount of stretch may be light in one method and moderate in another. Pulling harder does not automatically provide better support. It can irritate the skin or make the tape lift.
Apply each strip in three parts. Place the first anchor with zero tension. Stretch the working section to the required tension level, following the planned pathway. Finish by laying down the final anchor with zero tension. The working section may cover most of the strip between the two anchors; it is not always limited to a short area in the middle.
Rub and Check the Tape
Once the full strip is attached, rub gently along the fabric. Move from the center toward each end without lifting the edges. This pressure helps the adhesive contact the skin and secures both anchors.
If you are wondering how to prevent early peeling, check each rounded corner and press down any loose area. Do not pull the tape tighter to flatten a fold. To stop the edges lifting too soon, keep them away from clothing seams when possible. Move the body area through a comfortable range and confirm that nothing feels restricted. Secure edges and an even surface help keep the strip attached longer. Remove it if you develop burning, numbness, tingling, discoloration, increasing pain, or strong irritation.
Apply the Tape Safely
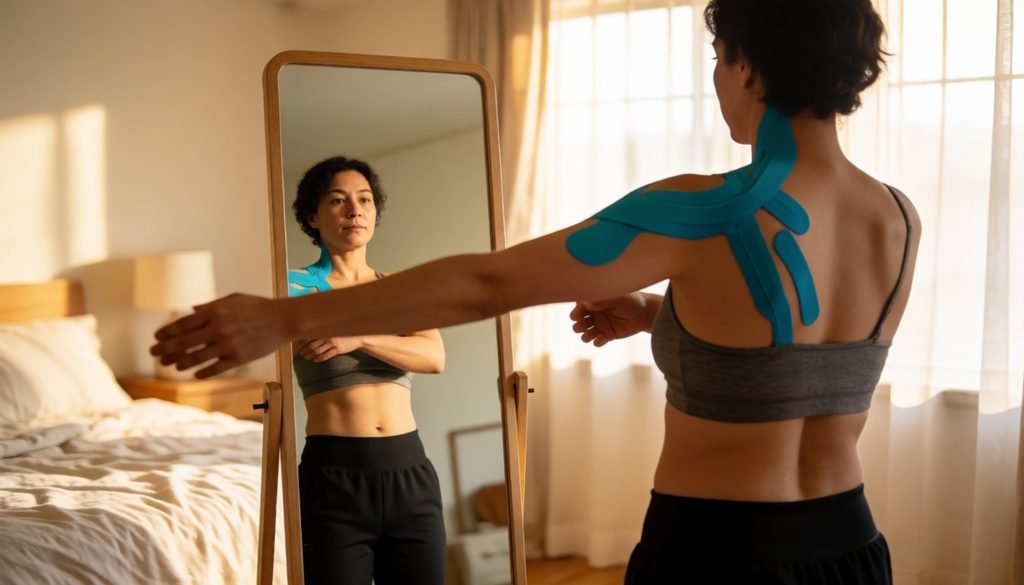
To apply kinesiology tape safely, begin with instructions made for the correct body area and goal. Clean and dry the skin, measure the pathway, and cut the strip for the planned area. Place both anchors without stretch. Apply the instructed tension only to the working section and remove the backing gradually.
Rub the finished strip and check that movement and circulation remain normal. These steps help you use therapeutic tape correctly. Remove it if you notice burning, numbness, tingling, discoloration, increasing pain, or strong skin irritation.