Choosing the right stretch is essential when applying therapeutic tape. Understanding kinesiology tape stretch can be confusing when percentages vary between techniques. These numbers show how far the tape is lengthened during application; they are not scores for support or quality. Elastic therapeutic tape tension should match the purpose, strip shape, direction, and placement. Some techniques need almost no pull, while others require moderate stretch. More tension is not better and may irritate the skin. This guide explains practical ranges from 0% to about 50% and why beginners should start low, increasing tension only when the technique requires it.
Why Zero Stretch Anchors Matter

Zero stretch anchors are the short tape sections placed at each end. They hold the stretched working section securely against the skin. The phrase anchor ends applied without pulling describes their correct placement. Lay each anchor gently in its natural shape. Stretching these ends can concentrate force where the tape meets the skin. This may cause discomfort, irritate the skin, or make the edges lift early. (www.kttape.com) Follow this simple order when tension is required. First, place the beginning anchor with 0% stretch. Next, apply the working section using the required elastic therapeutic tape tension. Last, finish with another 0% anchor. Relaxed anchors reduce pulling and support more reliable adhesion. Rub both anchors gently to activate the adhesive.
Minimal Tension: 0–10%
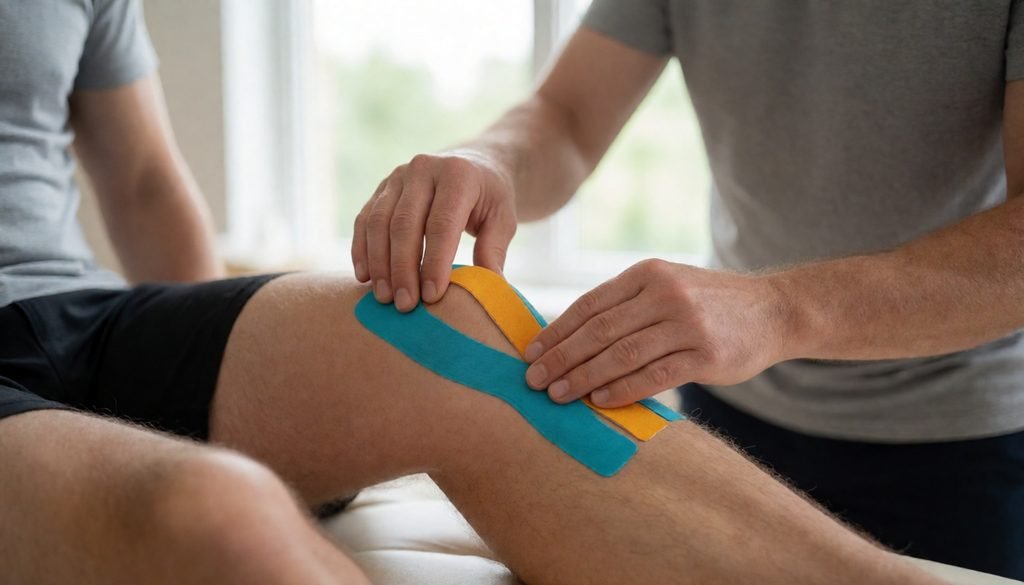
Minimal tension lets the tape rest with almost no added stretch. This 0–10% range is commonly used with fan-cut applications for swelling management. (www.kttape.com) If unsure how much pull for swelling, begin with the application instructions. The amount of tension used for swelling should remain gentle, not firm. Place the base anchor without stretch. Then lay the narrow fan tails lightly across the chosen area. How firmly to stretch the fan tails depends on the exact technique. Placement and direction may also change according to the taping goal. Extra pulling does not make this application more effective. It can create tightness and reduce comfortable movement. Focus on gentle skin contact and careful positioning instead of force.
Light Tension: 10–25%
Light tension uses approximately 10–25% of the tape’s available stretch. This light tension range creates controlled pull without firm force. It often follows muscle pathways or supports movement awareness. Apply anchors without stretch and position the body as instructed. Then guide the working section along the required direction. A light tension range should never feel like pulling the material toward its limit. Even small changes in stretch can change how the tape feels during movement. Therefore, a low-stretch application range must match the technique’s purpose, direction, and placement. Do not choose 25% simply because the higher number appears more supportive. Use only the smallest amount of stretch required by the complete instructions.
When Should Moderate Stretch Be Used?
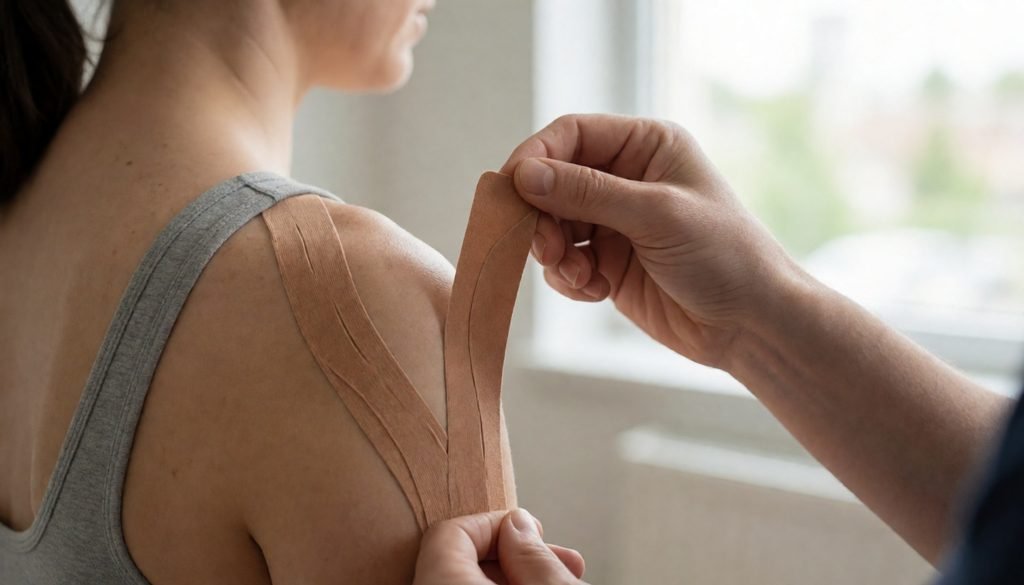
Moderate tension means stretching the working section between 25% and 50%. This range may suit selected fascia, space-correction, or joint techniques. The tape may pass across or around the target area, depending on the goal. Situations requiring 25–50% stretch should always come from specific application instructions. These instructions show when a medium amount of tension is appropriate. They also explain the strip shape, direction, body position, and anchor placement. Never treat moderate tension as the standard choice for every body area. A higher percentage means more stretch, not better support or results. Choose the technique before choosing the percentage. Then apply only the stated tension to the working section. Keep the beginning and ending anchors at 0% stretch.
Half Tension: About 50%
What does half tension mean? It means stretching the working section to about half the tape’s available stretch. (www.kttape.com) This firmer range may appear in selected tendon, ligament, or joint techniques. However, “selected” is important because many applications use less than 50%. Always check what approximately 50% tension means for the exact technique. The instructions should identify the purpose, strip direction, position, and placement. They should also help explain how to recognize a halfway stretch. Pull until reaching the range, rather than stretching to the limit. Never guess or assume firmer tape will provide better support. Use 50% only on the working section when instructions require it. Keep both anchors relaxed at 0% tension.
Follow the Exact Application Instructions
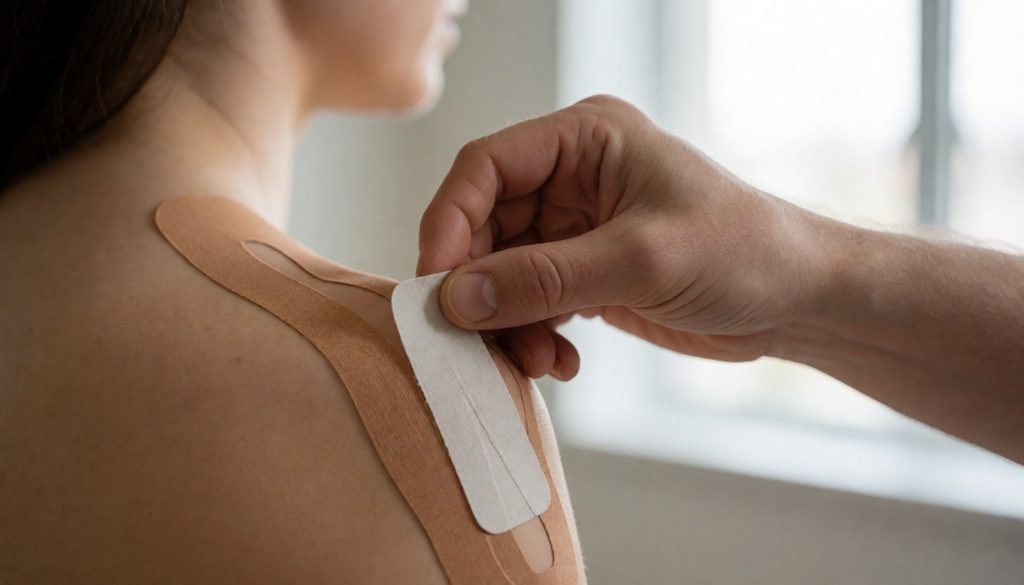
A percentage alone cannot define a complete taping application. One body area may need different methods for different goals. For example, one knee technique may follow muscle; another may cross the joint. Each goal can change strip shape, direction, tension, and anchor placement. First, identify the purpose of the complete application. Next, prepare the strip and position the body as shown. Then follow the stated direction, tension, and anchor placement. Do not borrow a percentage from another technique. That shortcut may change how the tape pulls across the skin. Treat percentages as practical application ranges, not guaranteed treatment doses. When instructions seem incomplete, use a verified guide or ask a trained professional.
Use the Least Tension the Technique Requires
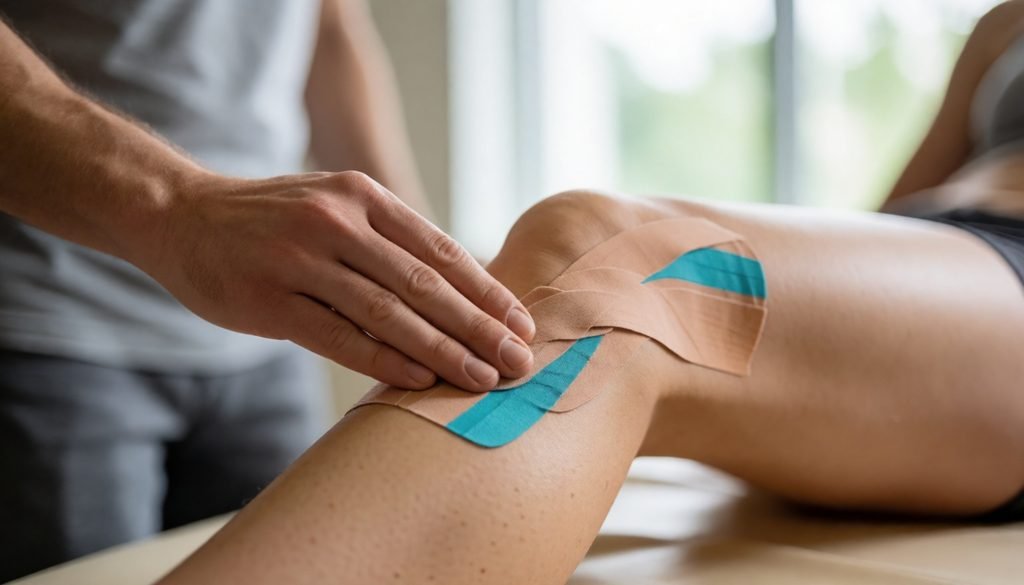
Kinesiology tape stretch is clearer when each range has a purpose. The scale moves from 0% anchors through minimal, light, moderate, and half tension. More stretch does not guarantee better support or application quality. Percentages are practical guides, not guaranteed treatment doses. Always keep the beginning and ending anchors at 0% tension. Choose the complete technique, including its shape, direction, and placement. Then use the lowest tension it requires. This simplifies controlling the pull of elastic tape with greater consistency. Follow the complete tension guide whenever you need step-by-step help.