Kinesiology tape can lose its grip or become uncomfortable when small application details are overlooked. Many kinesiology tape mistakes begin before the strip even touches the skin. Others involve poor positioning, excessive stretch, or becoming active too soon. These common taping errors can cause lifting edges, weak adhesion, wrinkles, or skin irritation. Fortunately, most problems are preventable once you know what to watch for. Understanding the seven mistakes below can help you apply each strip more carefully, protect your skin, and achieve a more secure result.
Choosing the Wrong Application
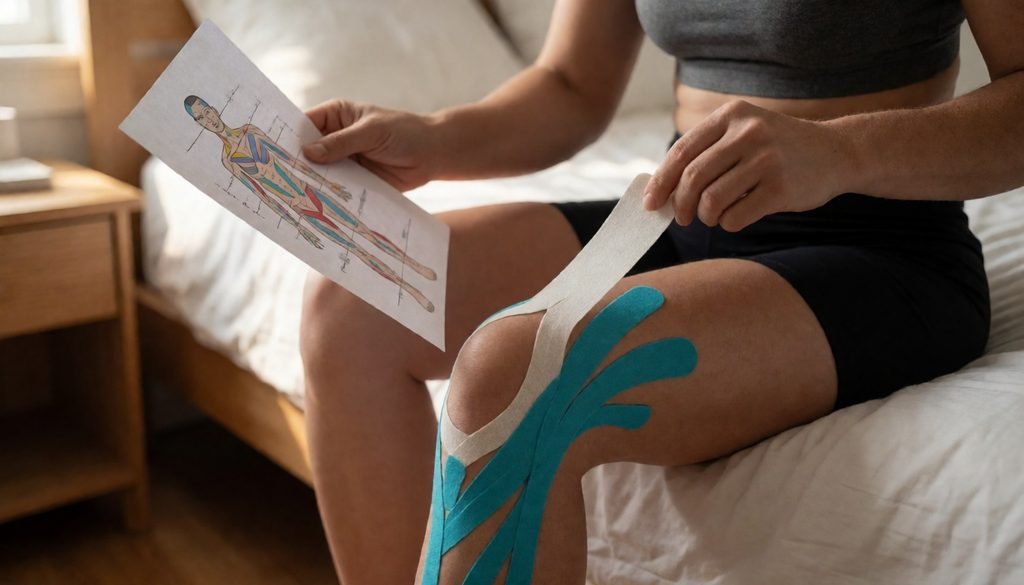
A taping method should match both the body area and the reason for using it. Choosing a strip shape because it looks familiar can send the tape along the wrong pathway or direction. The result may feel uncomfortable, wrinkle, restrict natural movement, or lift early. These common taping errors often occur when instructions designed for one joint or muscle are copied onto another area. Before cutting anything, decide what you want the application to support. Then find reliable instructions created for that exact location and purpose. Confirm the strip shape, starting point, pathway, direction, and recommended tension. The correct application gives every section of tape a clear purpose and helps it move naturally with your body.
Skin Preparation Tips Before Applying the Strip

Even the best tape may peel early when applied over moisture or residue. Sweat, water, lotion, sunscreen, and natural skin oils form a barrier that prevents the adhesive from making full contact. This can cause bubbles, loose edges, or a strip that detaches during movement. Useful skin preparation tips start with gently cleaning the area and removing every trace of product. Dry the skin completely, including folds and other places that hold moisture. To prepare the skin correctly, wait until it is cool and dry after bathing or exercise. Avoid creams and oils before application. A clean, completely dry skin surface helps the tape bond evenly, improving its grip without adding unnecessary tension.
Touching the Adhesive and Leaving Sharp Corners
Adhesive works best when it stays clean and the tape edges remain smooth. Pulling away all the backing at once encourages you to touch the sticky surface. Your fingers can transfer skin oil and reduce its grip. To understand how to stop edges peeling, remove the backing gradually while applying the strip. Hold the tape by the paper whenever possible. Shape also matters. Square corners can catch on clothing, bedding, or towels and begin lifting. Round every outside corner before application to prevent the corners from lifting. After placing the tape, smooth it gently toward the ends. Careful handling helps keep the ends from peeling and protects the adhesive across the strip.
Stretching the Anchors
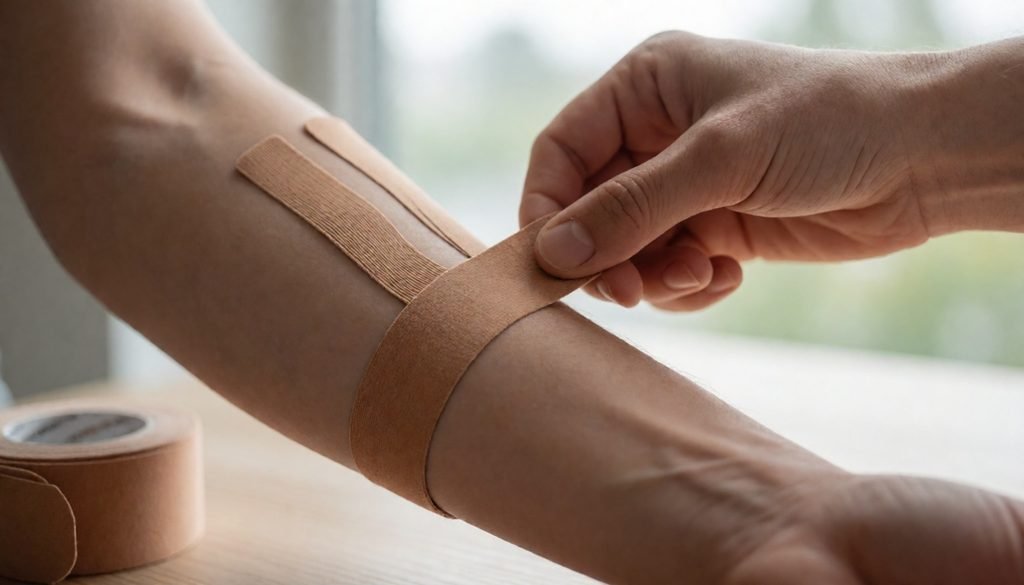
The anchors are the short sections at the beginning and end of a tape strip. They should normally be applied with 0% stretch. Pulling either anchor creates constant tension where the tape meets the skin. This can cause discomfort, irritation, wrinkling, or early lifting. Proper anchor placement begins by laying the first anchor flat without pulling it. Apply the working section using the tension required by the instructions. Then release all tension before placing the final anchor. Positioning the anchors correctly allows both ends to rest naturally during movement. Check that they lie flat without folds or stretched skin beneath them. Proper anchor placement provides a stable beginning and end without unnecessary pulling.
How Much Stretch Should I Use?
The correct stretch is not the strongest stretch you can create. It is the amount specified for the chosen application. Pulling too hard increases recoil against your skin and can cause puckering, discomfort, redness, blisters, or irritation. The right amount of tension depends on the body area, strip shape, and application goal, so follow the directions rather than estimate. When deciding how far to pull the strip, apply tension only to the section identified in the instructions. Keep both anchors at 0% stretch. The tape should lie smoothly and allow movement without pinching your skin. Extra tension does not guarantee extra support. Remove the tape if it causes burning, numbness, pain, or strong irritation.
Becoming Active Too Soon
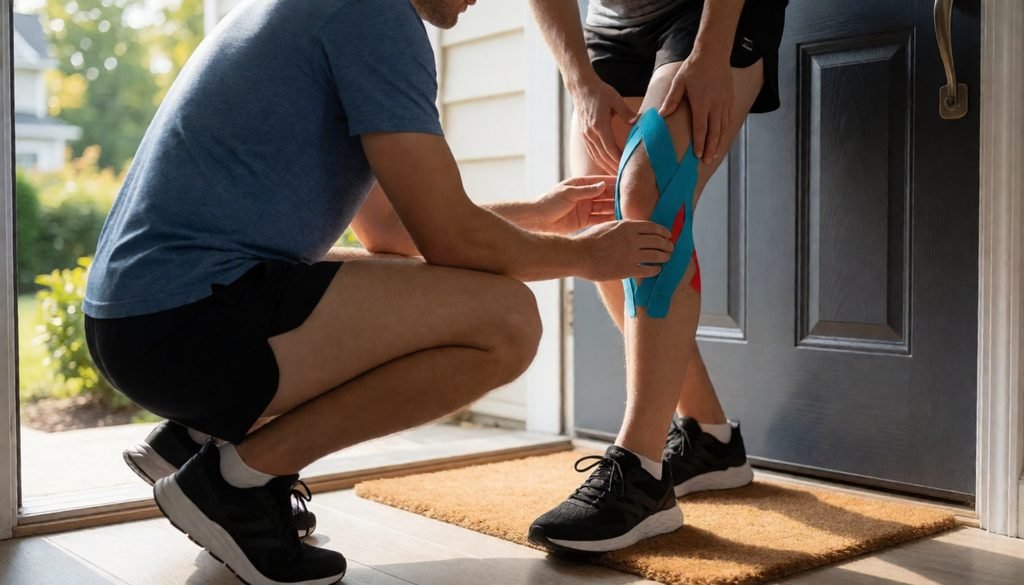
The final mistake happens after the tape looks finished: becoming active before the adhesive has settled. Immediate exercise creates movement and sweat, while showering or swimming introduces moisture. Either can weaken the bond, loosen edges, and shorten the wearing time. If asking, “when can I start exercising,” apply the tape approximately one hour before activity unless the package specifies a different waiting period. Give it the same time before heavy sweating, showering, or swimming. Understanding how soon activity can begin lets you plan around schedule. When choosing when to begin working out, inspect the edges and make sure the tape feels secure. That short pause helps prevent an application from peeling too soon.
Avoiding Common Application Mistakes
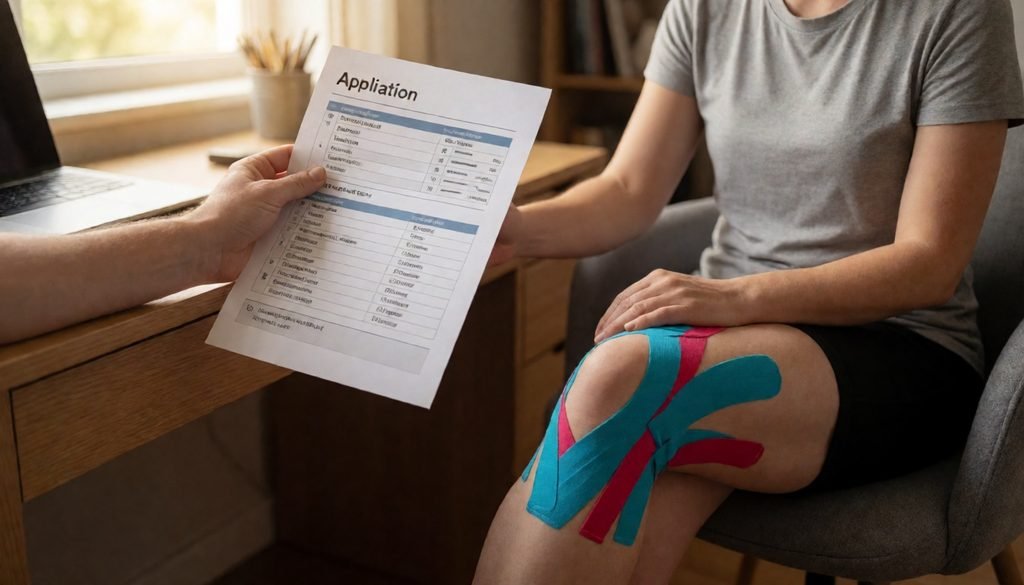
Most kinesiology tape mistakes can be prevented with choices made before, during, and after application. Prepare clean, dry skin, select instructions for the correct body area, use only recommended tension, and give the adhesive time to settle. However, skin safety always comes first. Remove the tape for burning, numbness, tingling, blisters, worsening pain, or strong irritation. Avoiding frequent application errors can improve comfort and adhesion. Before applying your next strip, read the complete application guide and follow each stage from preparation through removal.
Links are connected to these words:
1 clean, completely dry skin — Kinesio Taping guidance (KinesioTaping.com)
2 0% stretch — published application guidelines (PMC)
3 approximately one hour before activity — Kinesio Tape FAQ (kinesiotape.com)